“`html
Why Cessna 206 Turbos Fail Early
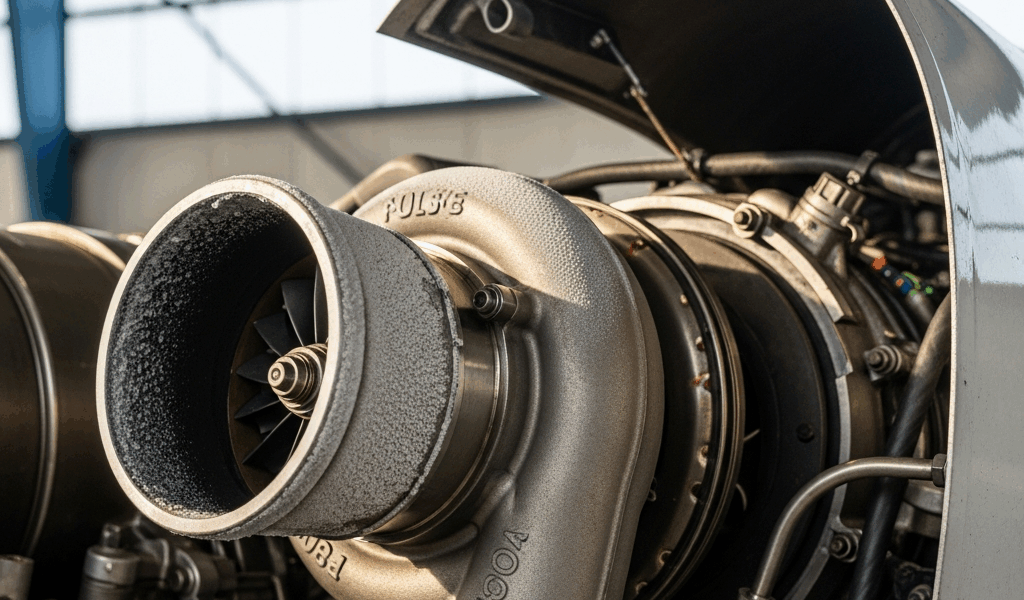
The Cessna 206’s turbocharger system was designed to push sea-level power into the flight levels, but it lives in an almost permanent state of thermal stress. Spend enough time around these engines and you’ll see the pattern repeat itself: turbo failures cluster around high-utilization aircraft, particularly those operated in mountainous regions where pilots lean on boost for extended climbs.
Here’s the core vulnerability—heat cycling. A turbocharger compressor wheel spins at 80,000–120,000 RPM under normal conditions. When you’re climbing to altitude in thin air, you’re asking it to sustain those speeds longer than it was built for. The turbine section, where exhaust gases do the spinning, sits in a temperature zone around 1,050°C. Year after year of hot starts, aggressive power applications, and sustained high-altitude cruise gradually degrades the internal seals and bearing surfaces. It’s not dramatic—it’s just relentless wear.
Model years 1980–1998 saw the most documented issues. Newer models got upgraded intercooler plumbing and wastegate calibrations, but the fundamental design vulnerability never really left the line. Turbo seal degradation typically emerges between 1,200 and 2,000 hours on the original unit, though I’ve seen failures at 800 hours on aircraft flown hard.
5 Warning Signs Your Turbo Is Dying
1. Loss of Manifold Pressure on Climb
You’re climbing through 8,000 feet. Your MP drops 1.5–2.0 inches below what the POH says you should see at this altitude and RPM setting — what most pilots mistake for engine wear or a stuck waste gate. Reality: your turbo compressor is losing pressure because the impeller surface has begun to corrode or erode. The wheel no longer moves air as efficiently. Safety risk is real here. You lose climb performance exactly when you need it most, especially near terrain.
2. Blue Smoke During Initial Climb
You rotate and see a faint blue tint in the slipstream. Most pilots think it’s just cold-start residue or rich-of-peak operation. That’s wrong. Blue smoke from turbocharging indicates oil leakage past the turbo seals into the hot compressor section. Once you’re seeing it, the seal is already compromised. Internal turbo oil leaks accelerate exponentially — they don’t slow down.
3. Excessive Engine Temperature Rise
EGT climbs 50–80 degrees faster than it should. Cylinder head temps spike on moderate power. You suspect spark plugs or cooling, but the issue is often a turbo bearing becoming rough, which increases internal friction and heat generation upstream. The exhaust runs hotter because the compressor is working harder to produce the same boost — a sign of mechanical failure inside the turbo housing.
4. Turbo Lag and Slow Spooling
Power application feels sluggish. There’s a noticeable delay between throttle advancement and boost response. Probably should have opened with this section, honestly — this is the symptom that separates experienced owners from everyone else. Pilots attribute it to normal engine characteristics or old fuel injectors. In turbo terms, it’s the compressor wheel losing efficiency due to seal leakage or bearing play. Once you feel lag developing, you have maybe 20–30 hours before a catastrophic failure becomes possible.
5. Compressor Surge or Whistling Noise
A sharp metallic whistle or intermittent popping sound from the engine intake area during climb. This is compressor surge — the air column backing up because the turbine section is no longer feeding stable airflow to the compressor. It’s bearing wear. That’s what opens clearances beyond spec. Ignoring this leads to turbo seizure or blade separation.
Engine Parameters to Check Right Now
Get into your aircraft today with the POH open and compare these numbers against the baseline limits. Don’t skip this step.
- Manifold Pressure vs. RPM Ratio: At 2,400 RPM and 10,000 feet, you should see 20.5–21.5 inches MP — exact values vary by model, but consult your POH. If you’re consistently 1.5 inches below spec, log it. This is your earliest detection point for degradation.
- EGT Spread: Scan your six cylinders during a lean climb. Spread between hottest and coolest should not exceed 100°F. If cylinder 3 is running 150°F hotter than cylinder 5, something is restricting exhaust flow — possibly turbo turbine buildup or bearing roughness creating backpressure.
- Turbo Inlet Temperature (TIT): Should not exceed 1,700°F under any normal operating condition. If you’re seeing 1,750°F+ at cruise power, your compressor outlet temperature is elevated. This signals compression inefficiency. Yellow-line warning territory.
- Oil Temperature: Runs 10–15 degrees higher than baseline? Turbo bearings generate heat when clearances open up. Flag this trend over three consecutive flights and you’ve got a pattern worth investigating.
- Fuel Consumption Rate: Turbo degradation forces the engine to run rich to maintain power. If your fuel burn has increased 2–3 gallons per hour for no change in power setting, suspect turbo inefficiency working against you.
None of these readings prove a turbo failure alone. Together, though, they form a diagnostic pattern that demands mechanic investigation.
When to Ground the Aircraft
Stop flying. Call your mechanic. Ground the aircraft if you observe any of these conditions — don’t debate it:
- Blue smoke visible during any climb phase.
- Compressor surge noise (audible popping from intake) during power application.
- Loss of MP exceeding 2.0 inches below POH spec at altitude.
- TIT exceeding 1,750°F during climb or cruise power.
- EGT spread exceeding 150°F between any two cylinders.
- Rapid oil temperature rise (20°F above normal in a single flight).
FAA regulation 14 CFR Part 91.9 requires you to operate the aircraft within the limits established in the approved POH. Pushing a degrading turbo past its thermal or pressure limits is a violation. More importantly, it’s a safety failure. Turbocharger catastrophic failure — turbine blade separation, compressor seizure, total loss of boost — can damage the entire engine or cause an uncontrollable power loss at altitude.
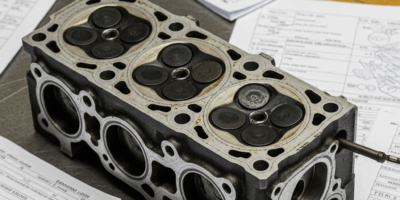
Inspection Points a Mechanic Should Check
Schedule a condition inspection focused on the turbocharger system. Here’s what you should insist your A&P verify during the teardown.
Visual Inspection
Turbo inlet and outlet piping first. Look for oil residue, carbon buildup, or blue/brown discoloration inside the ducts. Any oil film inside the intercooler or intake manifold is a red flag — don’t let the mechanic dismiss it. Request photos of the turbine housing inlet. Carbon or discoloration there indicates combustion leakage into the turbo section.
Mechanical Play Tests
With the engine cold and ignition off, have the mechanic apply gentle radial pressure to the turbo compressor wheel shaft. Bearing play exceeding 0.010 inches is excessive. Axial play (forward/backward movement) should be minimal — less than 0.005 inches. If your mechanic says “a little play is normal,” push back. Insist on spec numbers from the turbo manufacturer.
Wastegate Function
The wastegate actuator should respond smoothly to boost pressure with no lag or binding. Have the mechanic manually cycle it during a ground run and confirm it moves freely. Stuck wastegates force the turbo to over-boost, which accelerates seal degradation faster than normal operation.
Intercooler Integrity
Examine all hose clamps, connections, and the core itself for cracks. Any boost leakage downstream of the compressor reduces pressure at the intake manifold, forcing the turbo to work harder to maintain power. A cracked intercooler or loose clamp feels exactly like turbo degradation in the flight deck — you won’t know the difference without inspection.
Air Filter Condition
A clogged air filter forces the compressor to pull harder through increased restriction. This accelerates impeller erosion. Have it replaced if there’s any visible debris or discoloration — it’s cheap insurance.
Ask your mechanic for a detailed writeup. If they note any internal turbo damage during teardown, budget $4,000–$6,500 for overhaul or replacement. Yes, it’s expensive. But it’s the cost of flying at altitude safely.
“`


Leave a Reply