Traffic pattern work has gotten complicated with all the conflicting advice and YouTube videos flying around. As someone who spent an entire teaching hour last month just working patterns with a student, I learned everything there is to know about why this foundation matters. Today, I am sharing it all with you.
You can always tell who is serious about flying by watching their traffic pattern. Sloppy patterns mean sloppy approaches, and that means fighting to save every landing instead of just flying the plane. A good pattern is like muscle memory – once you nail it, everything else gets easier. Probably should have led with this, honestly.
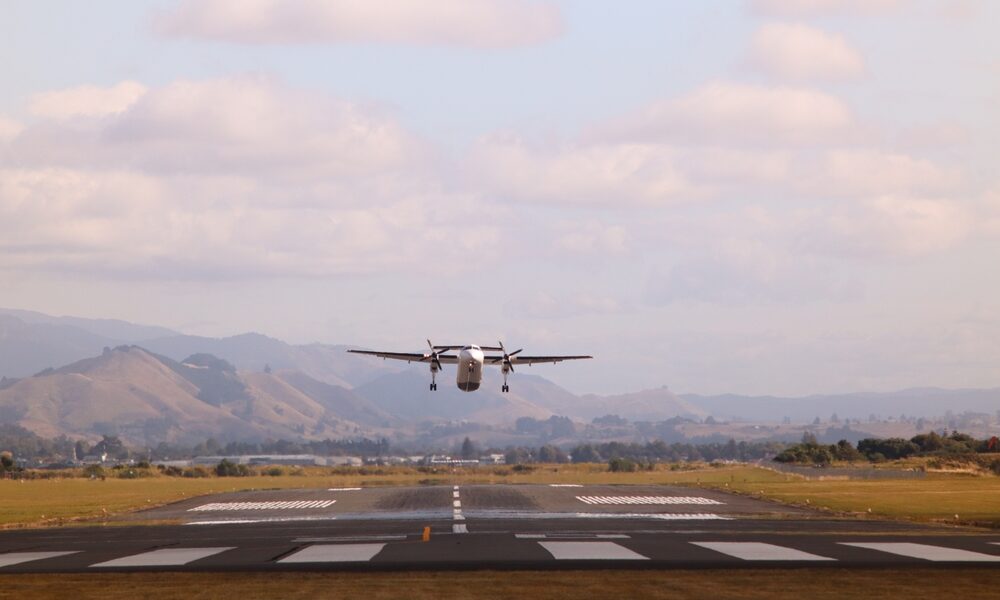
Quick reference: A standard traffic pattern has five legs: (1) Upwind – climb straight out, (2) Crosswind – 90-degree turn perpendicular to runway, (3) Downwind – parallel to runway flying opposite direction, (4) Base – 90-degree turn toward runway, (5) Final – lined up for landing. Pattern altitude is usually 1,000 feet AGL. Keep it consistent and your landings will get way better.
Upwind – Just Getting Started
After takeoff, climb straight ahead until you hit pattern altitude or clear the runway environment. Most patterns are left-hand, but some runways use right patterns because of terrain or noise issues. Check the Chart Supplement and look for airport signs showing which way to turn.
Keep your head on a swivel – planes show up from anywhere. At uncontrolled fields, make your calls. Climb at Vy until pattern altitude.
Crosswind Turn
Hit pattern altitude, then turn 90 degrees. Bank maybe 15-20 degrees, keep it coordinated. Check for traffic on downwind before you turn – that is where most conflicts happen.
Hold pattern altitude tight – within 50 feet. Trim it out so the plane flies hands-off. Crosswind is short – maybe 30-45 seconds. Look for traffic before turning downwind. I am apparently one of those people who checks twice every time, and that habit works for me while casual head movement never did.
Downwind – Where It All Happens
Turn downwind when you are about 45 degrees past the departure end. This puts you parallel to the runway, half a mile to a mile out. Hold pattern altitude and cruise speed. You should see the whole runway looking over your shoulder. If you cannot, you are too close or too far.
Run your prelanding checks abeam the numbers: GUMPS – Gas, Undercarriage, Mixture, Prop, Seatbelts. Make your radio call.
Base Turn
Turn base when the threshold is about 45 degrees behind your wing. That timing changes with wind – strong headwinds mean turn earlier, tailwinds mean wait longer. Start coming down and slowing on base. Target around 1.4 times stall speed. Descend at 300-500 fpm.
Configure the plane – pull some power, add 10-20 degrees of flaps, trim for the descent. Check for traffic on final before you finish the turn.
Final and Landing
Roll out on final lined up with centerline, half a mile to a mile out. Nail your approach speed – 1.3 times stall. Add full flaps if needed. The runway should look stationary in the windscreen – that is a 3-degree glidepath.
Stay on centerline. Airspeed control is critical – hold it within 5 knots. At 50 feet, start the flare by bringing the nose up smoothly. Touch on the mains with power at idle, nose still coming up.
Common Mistakes
Flying too wide or too tight creates bad approach geometry. Downwind should be half a mile to a mile out. Too wide and you cannot see the runway well. Too tight creates steep turns from base to final – that is dangerous.
Too fast on downwind crowds the pattern and leads to unstable approaches. That is what makes consistent patterns essential to safe flying – every leg should flow smoothly into the next.
Getting Better
Fly solo pattern practice sessions. Set goals – altitude within 25 feet, speeds within 3 knots, touchdown within 200 feet of target. Write down every landing. Get an instructor periodically to spot bad habits forming. The time you invest in pattern proficiency pays off forever.


Leave a Reply